8/20/2025
LTspice Schematic to SVG Converter
LTspice Schematic to SVG Converter
Overview
This tool translates LTspice (https://www.analog.com/en/resources/design-tools-and-calculators/ltspice-simulator.html) circuit schematics (.asc files) into publication-grade SVG graphics. I created it because I was tired of redrawing circuits in Visio, Illustrator, or PowerPoint for documentation purposes. While these are powerful drawing tools, none of them are as fast or convenient as a dedicated schematic capture tool. This converter was born out of the necessity to generate clean, high-quality schematics that look better than screenshots.
The tool parses all the shapes, components, wires, and texts in an LTspice schematic and renders them into a structured SVG file. It automatically searches for the symbol definition files (.asy) and correctly renders them with proper orientation and mirroring.
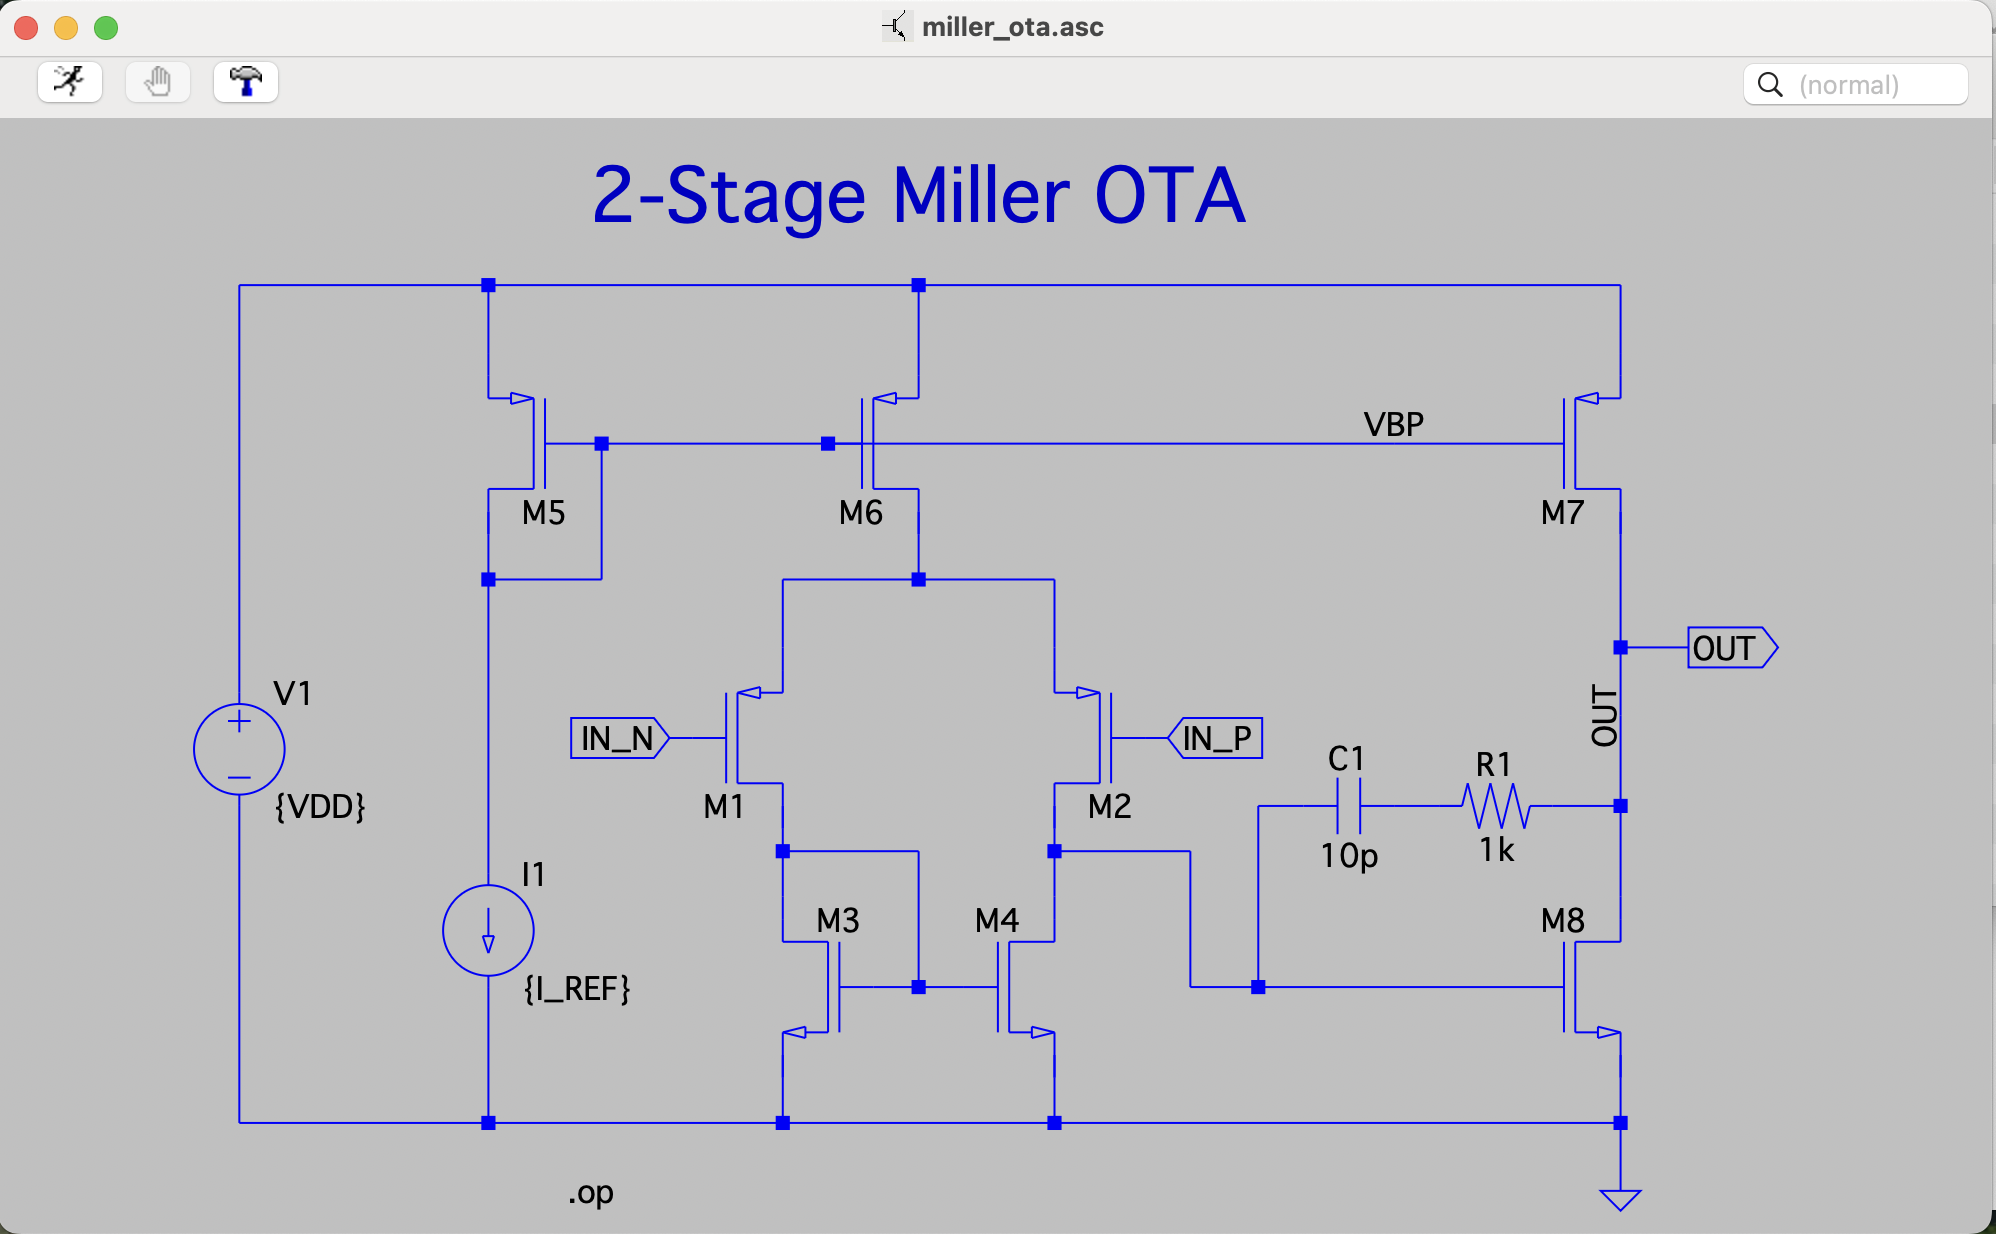
This will convert a schematic like this:
into an SVG file like this:

[!NOTE] Note: the IO pins are rendered with text outside of the pin shapes, which is an intentional design decision.
The output SVG is perfect for:
- Publication-quality documentation
- Web integration with perfect scaling
- Further editing in vector graphics software
- Professional presentations and reports
You get full control over the rendering through comprehensive command-line options (see the Usage section below).
Installation
Option 1: Install from PyPI (Recommended for stable releases)
pip install ltspice-to-svgAfter installation, you can use the command-line tool from anywhere:
ltspice_to_svg your_schematic.ascOption 2: Install from GitHub (For latest development version)
If you want the latest features and changes that haven’t been released to PyPI yet:
pip install git+https://github.com/Jianxun/ltspice_to_svg.gitOption 3: Clone the repository and install
- Clone the repository:
git clone https://github.com/Jianxun/ltspice_to_svg.git
cd ltspice_to_svg- Create and activate a virtual environment:
python -m venv venv
source venv/bin/activate # On Windows: venv\Scripts\activate- Install as a development package:
pip install -e .Usage
Using the command-line tool (after pip installation)
ltspice_to_svg your_schematic.ascThis will generate your_schematic.svg in the same directory as your schematic file.
Command Line Options
Basic Options
--stroke-width: Width of lines in the SVG (default: 2.0)--dot-size: Size of junction dots relative to stroke width (default: 1.5)--base-font-size: Base font size in pixels (default: 16.0)--margin: Margin around schematic elements as percentage of viewbox (default: 10.0, can be set to 0 for tight fit)--font-family: Font family for text elements (default: Arial)
Text Rendering Options
--no-text: Master switch to disable ALL text rendering--no-schematic-comment: Skip rendering schematic comments--no-spice-directive: Skip rendering SPICE directives--no-nested-symbol-text: Skip rendering text inside symbols--no-component-name: Skip rendering component names (R1, C1, etc.)--no-component-value: Skip rendering component values (10k, 1uF, etc.)--no-net-label: Skip rendering net label flags--no-pin-name: Skip rendering I/O pin text while keeping the pin shapes
File Options
--export-json: Export intermediate JSON files for debugging--ltspice-lib: Path to LTspice symbol library (overrides system default)
Post-Processing in Vector Graphics Editors
One of the advantages of generating SVG files is the ability to further refine them in vector graphics editors. The SVGs produced by this tool are structured logically with groups for different element types, making them easy to work with in editors like:
- Adobe Illustrator: Professional industry standard
- Inkscape: Powerful free and open-source alternative
Example Commands
# Basic conversion
ltspice_to_svg myschematic.asc

# Control visual style
ltspice_to_svg myschematic.asc --stroke-width 3.0 --dot-size 2.0

# Adjust margins around schematic
ltspice_to_svg myschematic.asc --margin 5.0  # 5% margin for tighter fit
ltspice_to_svg myschematic.asc --margin 0.0  # No margin for exact bounds

# Change font family
ltspice_to_svg myschematic.asc --font-family "Helvetica"
ltspice_to_svg myschematic.asc --font-family "Courier New"  # For monospace text

# Disable certain text elements
ltspice_to_svg myschematic.asc --no-schematic-comment --no-net-label

# For documentation with just components and wires
ltspice_to_svg myschematic.asc --no-text
Contributing
Contributions are welcome! Here’s how you can help:
- Fork the repository
- Create a feature branch (
git checkout -b feature/amazing-feature) - Make your changes
- Run the tests to ensure everything works (
python -m pytest) - Commit your changes (
git commit -m 'Add amazing feature') - Push to the branch (
git push origin feature/amazing-feature) - Open a Pull Request
Please make sure your code follows the existing style and includes appropriate tests for new features.
License
This project is licensed under the MIT License - see the LICENSE file for details.